If you are looking for a simple 5-minute guide to transform your GNOME to a productive look, then you have reached to correct page.
In one of the early guides, I explained the overall look and feel of the GNOME desktop. How you can visually change the look from a mundane desktop to something nice and better. This guide explains some steps which give you an idea of how you can Customize GNOME in Ubuntu 22.04 with a productive look.
Thanks to extensions, the GNOME desktop can be transformed into anything from visual and overall productivity. GNOME extensions are mighty if you know which one to use and what customizations to apply.
There are hundreds of extensions on the official GNOME extension website. That means you can customize GNOME in many ways. The following steps are merely one guide to show you how to customize Ubuntu 20.04 with GNOME With a productive look.
Table of Contents
Customize GNOME in Ubuntu
A default Ubuntu installation with a GNOME desktop looks like this without much configuration. This guide helps you to change this look.

Prerequisite
Make sure you have Flatpak enabled in your system. If not, follow this guide. Or, run the following commands in sequence from the terminal.
sudo apt install flatpak
sudo apt install gnome-software-plugin-flatpak
flatpak remote-add --if-not-exists flathub https://flathub.org/repo/flathub.flatpakrepo
reboot
All the following extensions used in this GNOME customization guide need the Extensions application to search and install them. You can follow this guide on installing GNOME extensions and search for the name of the following. This applies to all the GNOME-based Linux distros. You can also use the following command to install it:
flatpak install com.mattjakeman.ExtensionManager
Install the GNOME Tweak Tool. You can use Ubuntu Software to install Or, run below from the terminal.
sudo apt install gnome-tweaks
Install Extensions
Open the Extensions app from the application menu.
Then, install all the below extensions. Search with the following names:
- Dash to panel
- Open Weather
- User Themes
- Arc menu (search with arcmenu)
Configure the extensions
Dash to Panel
Once you install it, the Dash, by default, moves to the bottom of the screen. Right-click on the panel at the bottom and open ‘Dash to Panel Settings’. Or open extension app and click on the small gear icon beside the dash to panel and open its settings. And make the following changes:
- Position tab
- Disable the Show Applications Button
- Move the Date menu after the System menu
- Change the Desktop button width to 15px.
- Turn on the override panel theme background opacity. Give value to 50%.
- Style tab
- Change the running indicator style to dots (for both focused and unfocused)

Open Weather
- Change the display, City and temperature unit based on your current city. You can open its settings via the Extension app.
Arc Menu
- Open Arc Menu Settings using the extension tab.
- Go to menu > menu layout > traditional menu layout and select Mint.
- Open the Menu button tab and select the Ubuntu icon. Set the size to 25px.
Almost done, a couple of additional settings are required now.
- Open the GNOME Tweak tool and go to the Appearance tab. Choose Shell theme to Yaru Dark.
- Open Settings and change the Appearance to Dark in style.
- Then change the desktop wallpaper to a nice wallpaper.
If all goes well, you should have a nice productive, yet beautiful-looking desktop with you. The Arc Menu itself is a big productivity booster.
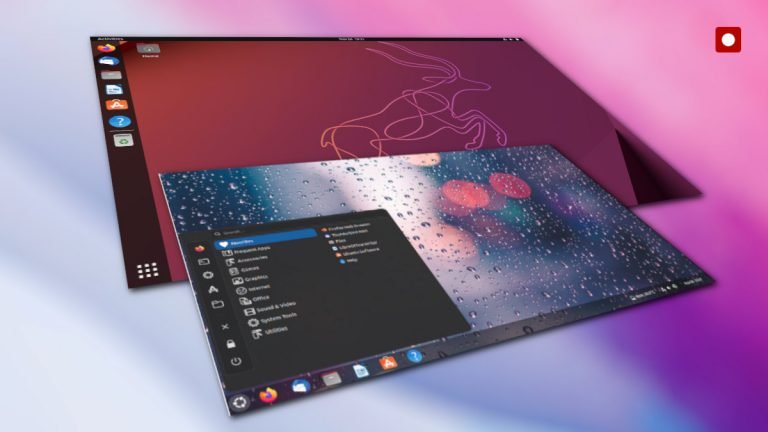
Final desktop after customizing GNOME desktop in Ubuntu

So, that’s it with the steps. This is merely a guide. You can play around with the settings in hundreds of ways to make the GNOME desktop best suitable for you.
Wallpaper Photo by Max Bender on Unsplash


