
This quick guide explains how to create a WiFi Hotspot in Ubuntu (all supported versions).
Internet connection sharing is not new. It was available as an operating system feature for some time. In Windows 10 or 11, creating a Hotspot with just a click of a button in Settings is straightforward.
In Linux Systems, particularly in Ubuntu-based systems, it was a bit tricky from the beginning. However, in recent Ubuntu 22.04 LTS – it is very straightforward, and you can quickly set up your WiFi hotspot from a desktop/laptop.
But before you try the following steps, remember the below points:
- You can only create a WiFi hotspot of your Wired or USB data card internet connection. That means you can not share your internet if you are already using another WiFi hotspot.
- When you create a hotspot in Ubuntu, your existing WiFi connection will be deactivated.
- This method would work with wired internet, USB 4G dongle, and both in Laptops and desktops.
Steps to Create WiFi Hotspot in Ubuntu
- Ensure you are connected to the internet via a wired, 4G/5G dongle in your Ubuntu system.
- Open Settings, and go to the WiFi tab. From the top hamburger menu, select “Turn on WiFi hotspot”.

- In the next window, give a network name and password. This name would be available as a hotspot name across devices. And the password would be to connect to that wifi hotspot.
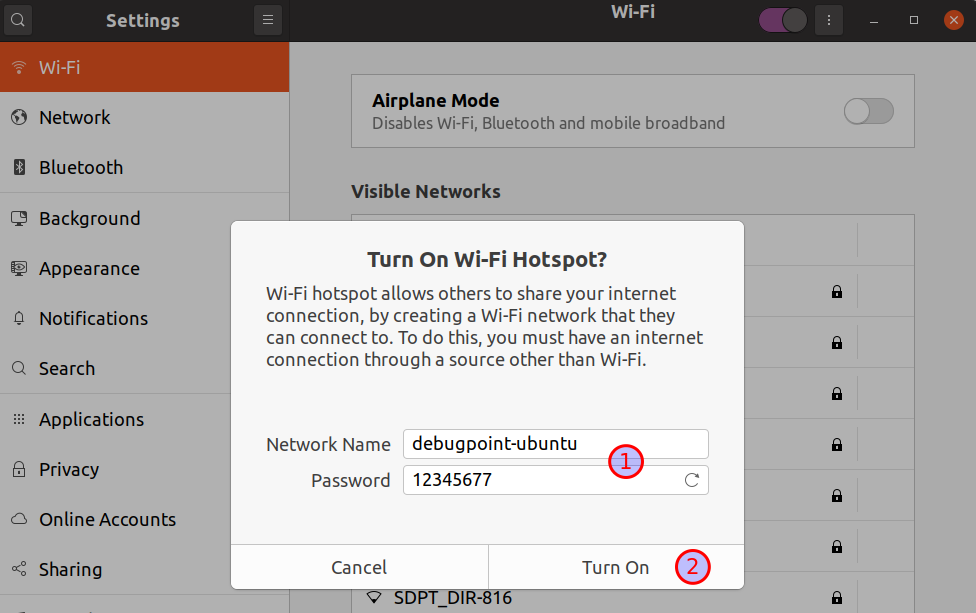
- Click Turn On.
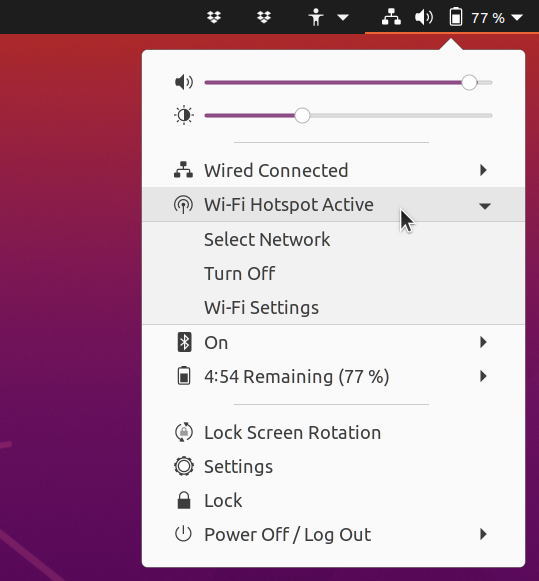
- Pull down the system tray menu and check the status. You should see a menu item – “Wifi hotspot active”.
Connect to the wifi hotspot from your mobile phones or other devices
- Open up your other device – Laptop or mobile phone and search for a WiFi hotspot. You can see the name of your Ubuntu system as a hotspot. The following screenshots are from an Android device. You can find a similar menu in your iPhones or other mobile OS settings.
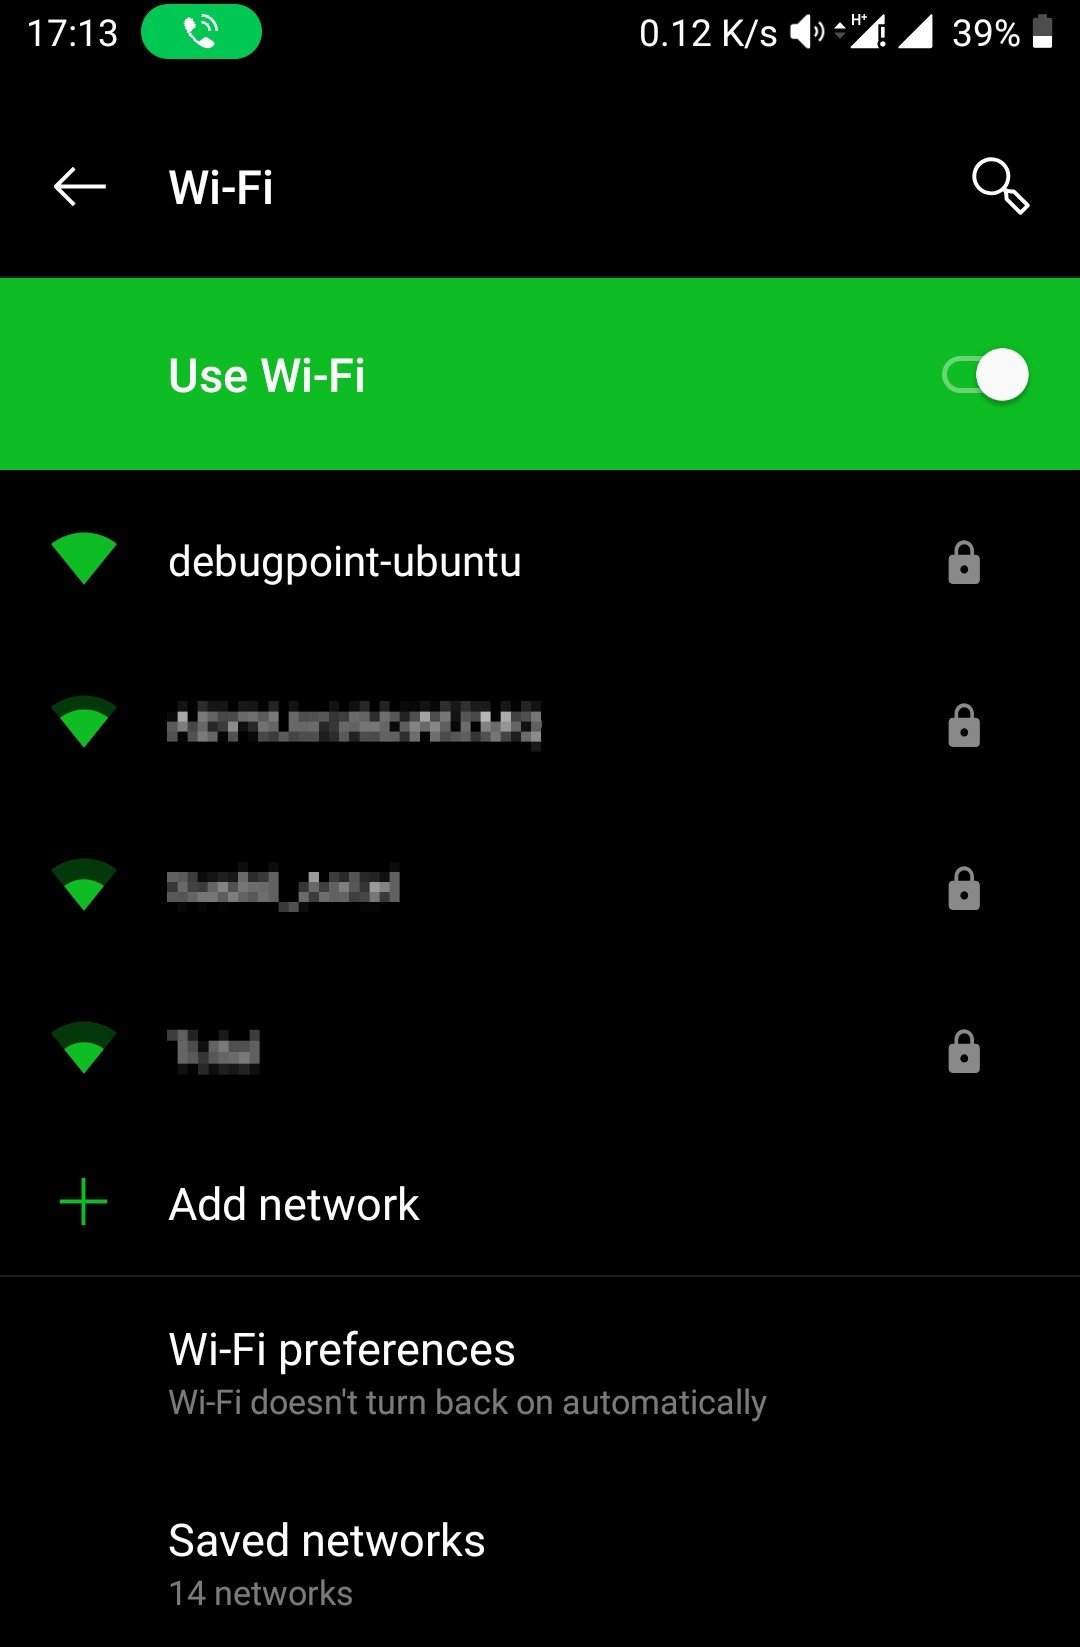
- Tap on the hotspot name, and enter the password. And hit connect.

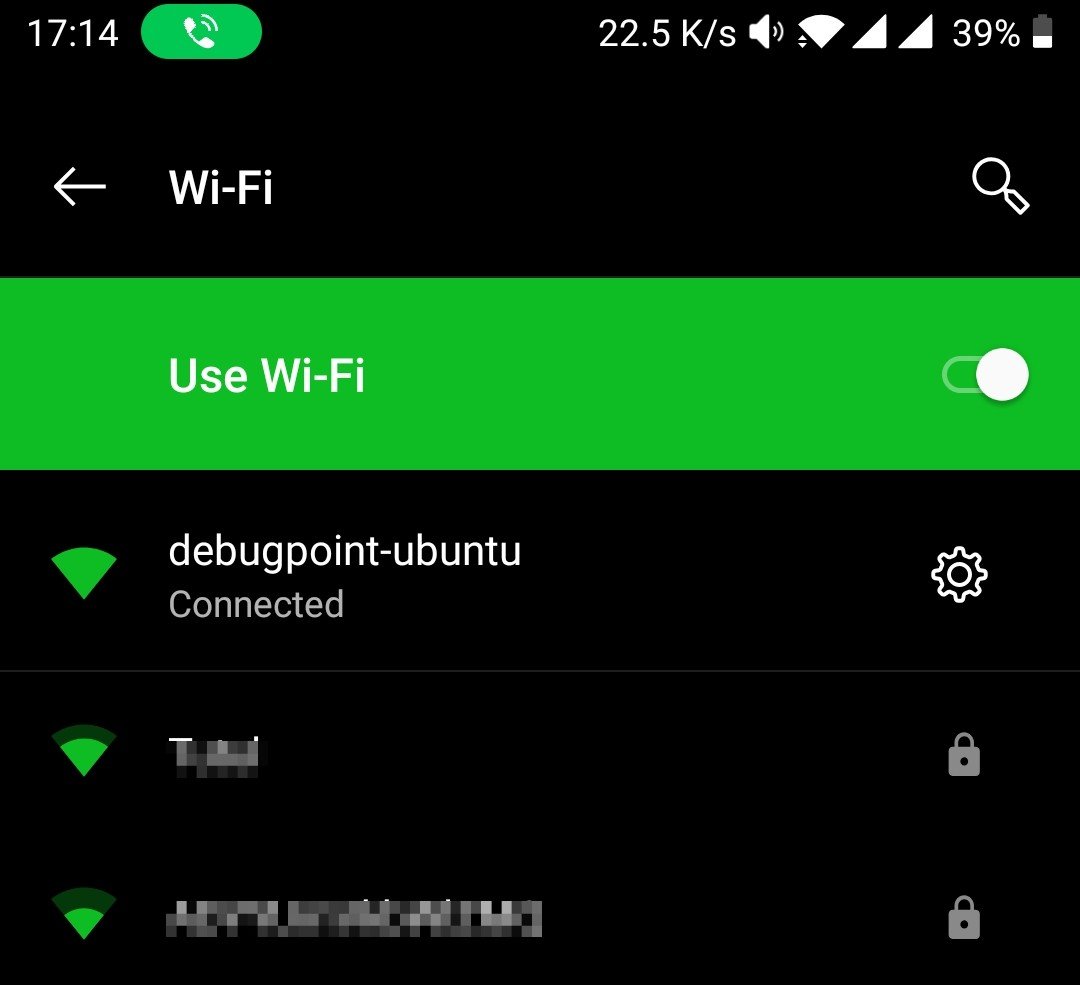
- And you can now browse the internet using this hotspot created in Ubuntu.
Wrapping Up
The above method should work in all the Ubuntu versions – 20.04, 22.04 and 22.10 onwards. Since the settings window is GNOME, the steps should be the same for all GNOME desktop-based Linux distributions.
I hope this helps you to create wifi hotspot to share your Ubuntu’s internet with other devices.
If you face any issues, drop a comment below.


